
Text by our experts Daniel Medeiros, with contributions by Francesco Fiusco.
Running Large Language Models (LLMs) on a laptop is fun, but what happens when you want to scale up and run an LLM on a supercomputer?
Many of the organizations we have worked with have successfully deployed llama.cpp on the LUMI supercomputer, a Slurm-based cluster powered by AMD GPUs. This transition has often enabled them to move away from proprietary solutions and adopt fully open-source workflows, lowering their development cost.
One of the key advantages of llama.cpp, which also serves as the backend for popular tools like Ollama, is its performance and flexibility. It is extremely fast, highly customizable, and capable of automatically distributing workloads across multiple GPUs. It also supports quantized models in the GGUF format, making it an excellent choice not only for personal machines but also for large-scale supercomputing environments.
Setting everything up requires some effort, compiling, configuring, and routing workloads correctly, but the payoff in performance and control is well worth it.
In this guide, we’ll walk through how to compile llama.cpp with Ninja, serve a model, and tunnel the interface back to your local browser step by step.
A small note beforehand
While this guide is primarily intended for the LUMI supercomputer, the process is roughly the same for other systems such as Leonardo and Meluxina, but some minor changes (e.g. loading modules) might be necessary in order for everything work properly. Get in touch with us if you need help!
A quick warning on storage
Before we start: avoid compiling in your home directory. Home directories on supercomputers usually have strict space quotas. It is highly recommended doing all of this in your project or scratch directory. In the code below, replace /path/to/your/project with your actual project directory (in Lumi, you can see your project directory through the lumi-workspaces command).
Step 1: Build/Load Ninja
It is often easier to build llama.cpp using Ninja. In Lumi, you can simply load it through EasyBuild:
ml CrayEnv buildtools/25.09And then you can go to step 2!
If on another machine…
In Leonardo, you will be OK if you just do module load ninja too. However, if you need for some reason to build Ninja (i.e., in a system where it is not available), then you can manually compile Ninja, and add it to our path.
# Load the python module (adjust if your cluster uses a different module name)
module load cray-python

# Move to your project directory
cd /path/to/your/project

# Clone and build Ninja
git clone https://github.com/ninja-build/ninja
cd ninja
cmake -Bbuild-cmake -DBUILD_TESTING=OFF
cmake --build build-cmake

# Create a bin folder and move the executable
mkdir -p bin
mv build-cmake/ninja bin/

# Add it to your PATH
export PATH="/path/to/your/project/ninja/bin:$PATH"Step 2: Allocate a compute node
Next, we need to grab a GPU node to compile and execute llama.cpp. We’ll use salloc to request an interactive session.
# Request 1 node, 1 GPU for 2 hours (replace <your-project-number>!)
salloc -N 1 -A <your-project-number> -p standard-g -t 02:00:00 --gpus-per-task 1Step 3: Compile llama.cpp for AMD GPUs
Now that we are on a compute node, we can clone llama.cpp and build it. Since we are dealing with AMD hardware, we’ll specifically target the gfx90a architecture and enable HIP.
cd /path/to/your/project
git clone https://github.com/ggml-org/llama.cpp.git
cd llama.cpp

# Configure the build using the ROCm compilers
srun cmake -S . -B build -G Ninja \
  -DGPU_TARGETS=gfx90a \
  -DGGML_HIP=ON \
  -DCMAKE_C_COMPILER=/opt/rocm-6.3.4/lib/llvm/bin/clang \
  -DCMAKE_CXX_COMPILER=/opt/rocm-6.3.4/lib/llvm/bin/clang++ \
  -DCMAKE_BUILD_TYPE=Release

# Build the project utilizing 64 cores
srun cmake --build build -j64Once finished, your executables will be located in the build/bin directory. I recommend exporting this directory to your PATH so you can easily call the server later:
export PATH="/path/to/your/project/llama.cpp/build/bin:$PATH"If on another machine…
If for some reason you need to compile for other AMD GPUs, take into account the -DGPU_TARGETS parameter, where you need to input one or more GPU models that you will utilize; for example, the gfx90a corresponds to the MI250X present in LUMI, while the gfx950 corresponds to the newer version of these GPUs, such as the MI350X and the MI355X (a list can be found here). You can also remove this parameter and have llama.cpp built for all AMD GPUs, but compilation may take also significantly longer.
If you are using Nvidia GPUs (e.g., in Leonardo), then you need to use the -DGGML_CUDA=ON flag instead of the -DGGML_HIP and -DGPU_TARGETS flags. Notice that this will build for the hardware that is available to the system (hence you need to compile it within the GPU nodes), but you can also use -DGGML_NATIVE=OFF to build for all CUDA capabilities instead or explicitly list them through the flag -DCMAKE_CUDA_ARCHITECTURES="80;86" (where 80;86 are the CUDA Capabilities you want to build against, such as 80 being the one for A100 present in Leonardo/Meluxina; for others you can find here). An example of how it would like for CUDA is:
srun cmake -S . -B build -G Ninja \
  -DGGML_CUDA=ON \
  -DCMAKE_CUDA_ARCHITECTURES="80"
-DCMAKE_BUILD_TYPE=ReleaseIf in Leonardo, you would need to load the CUDA module first as well through module load cuda/12.2, and in Meluxina you would have to run beforehand module load CUDA/12.8.0.
Finally, a last alternative is to just use -DGGML_VULKAN=on instead of any AMD/Nvidia-specific flag for a cross-platform compilation albeit this is likely to come with performance hits. Naturally you will need to have Vulkan SDK available in the machine.
srun cmake -S . -B build -G Ninja \
  -DGGML_VULKAN=ON
-DCMAKE_BUILD_TYPE=ReleaseStep 4: Download a model and launch the server
You’ll need a model in the GGUF format to run. You can grab highly optimized ones from Hugging Face (the Unsloth GGUF models are fantastic for this). The big advantage is that many models in GGUF format are quantized down to 1-bit, meaning that you can have truly very large models but at a smaller memory footprint.
You can either download your model directly or create a python environment (here we call my_test_environment, but feel free to change the name) to install huggingface-hub:
# Go to a project directory so you can download your model there
cd /your/project/directory

# Load a newer version of python in lumi
module load cray-python

# Create your environment and activate it
python3 -m venv my_test_environment
source my_test_environment/bin/activate

# Install huggingface-hub
pip3 install huggingface-hub

# Download a Qwen3-Coder-Next 3-bit quantized into unsloth/qwen3 folder
hf download unsloth/Qwen3-Coder-Next-GGUF --local-dir unsloth/qwen3 --include "*Q3_K_XL*"Once your model is downloaded, set up your Slurm batch script (llm.sh) to point to your new directory and start the server. Remember to change <directory_to_your_project_folder> to the actual folders with files. And you can see the parameters for each model in the model card of it, available on huggingface or in unsloth’s page. And naturally, if you are using more than 1 GPU (for very large models), don’t forget to change both --gpus-per-node=1 and the --gpus 1 parameter, so llama.cpp can distribute the different layers across these GPUs!
#!/bin/bash
#SBATCH --account=<your_project_number>
#SBATCH --partition=standard-g
#SBATCH --nodes=1
#SBATCH --gpus-per-node=1
#SBATCH --time=24:00:00
#SBATCH --job-name=llamacpp
#SBATCH --output=logs/%x_%j.out
#SBATCH --error=logs/%x_%j.err

module load cray-python
source <directory_to_your_project_folder>/my_test_environment/bin/activate
export PATH="<directory_to_your_project_folder>/llama.cpp/bin/:$PATH"
export LIBRARY_PATH="<directory_to_your_project_folder>/llama.cpp/bin/:$LIBRARY_PATH"
export LD_LIBRARY_PATH="<directory_to_your_project_folder>/llama.cpp/bin/:$LD_LIBRARY_PATH"
export LLAMA_MMAP=0

srun -n1 --gpus 1 llama-server --model <directory_to_your_project_folder>/unsloth/qwen3/Qwen3-Coder-Next-UD-Q3_K_XL.gguf --temp 1.0 --no-mmap --top-p 0.95 --min-p 0.01 --ctx-size 131072 --seed 3407 --n-gpu-layers 999 --host 0.0.0.0 --port 8080Now you can submit it to the queue:
sbatch llm.shCheck your job status using squeue --me. Once the job starts running, give the model about 2 to 10 minutes to load into VRAM and start serving.
Step 5: SSH port forwarding
To actually interact with the model, you need to map the port from the supercomputer’s compute node down to your local machine.
Take note of the specific node your job is running on (for example, nid005311). You can see this by running squeue --me. Open a new terminal tab on your local machine and set up an SSH tunnel:
# Replace 'nid005311' with your active compute node and adjust your login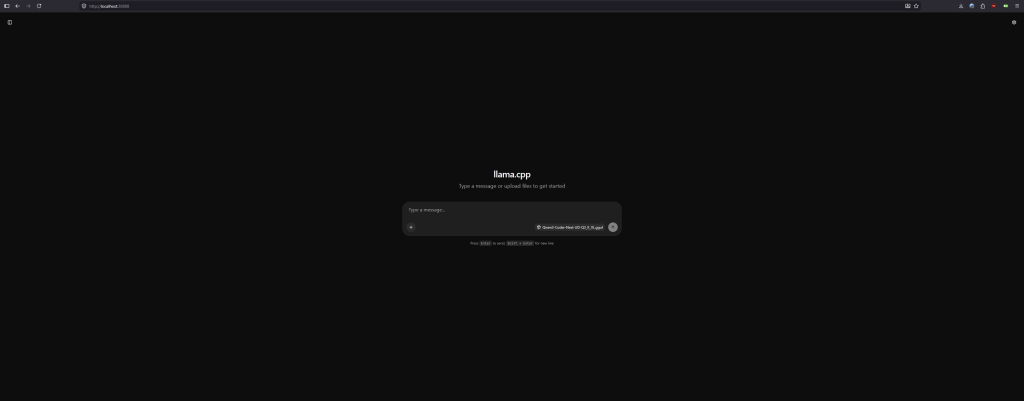
ssh -v -N -L localhost:38888:nid005311:8080 your_username@lumi.csc.fiNow, just open up your local web browser and head to: http://localhost:38888, or use it as as endpoint in vibe coding applications like OpenCode/Claude Code, or even directly into your python script.
You are now talking to an LLM powered by supercomputer GPUs!
Friendly Reminder: HPC resources are expensive. When you are done chatting with your model, don’t forget to kill your job using scancel <job_id> so you don’t burn through your project’s compute hours!
Happy coding!